Autolayout Guide
How do build device format independant UI with Autolayout on Android and iOS
Requires version 0.9.14 or higher.
Autolayout is here!
When we initially designed SCADE's layout engine, our main concern was expressiveness and power. However, though the layout engine is already extremely powerful, the layout engine's concepts to use this power were unfamiliar to the typical iOS developer.
Today, in this release, we are adding AutoLayout support to the SCADE layout manager You can now use AL for Swift based Cross Platform development for Android and iOS
Autolayout Introduction
The core problem that AL solves is to make the UI on devices of different formats look the same. On iOS, and especially on Android, you find mobile devices of different sizes. Autolayout makes the UI look professional and align all elements correctly independent of the format of the device your SCADE app is running on.
This tutorial introduces the SCADE Autolayout features. Also, Autolayout has already been discussed in many 3rd party tutorials in great depth and we are providing a list of additional Autolayout tutorials at the end of this chapter.
Setting Autolayout in SCADE
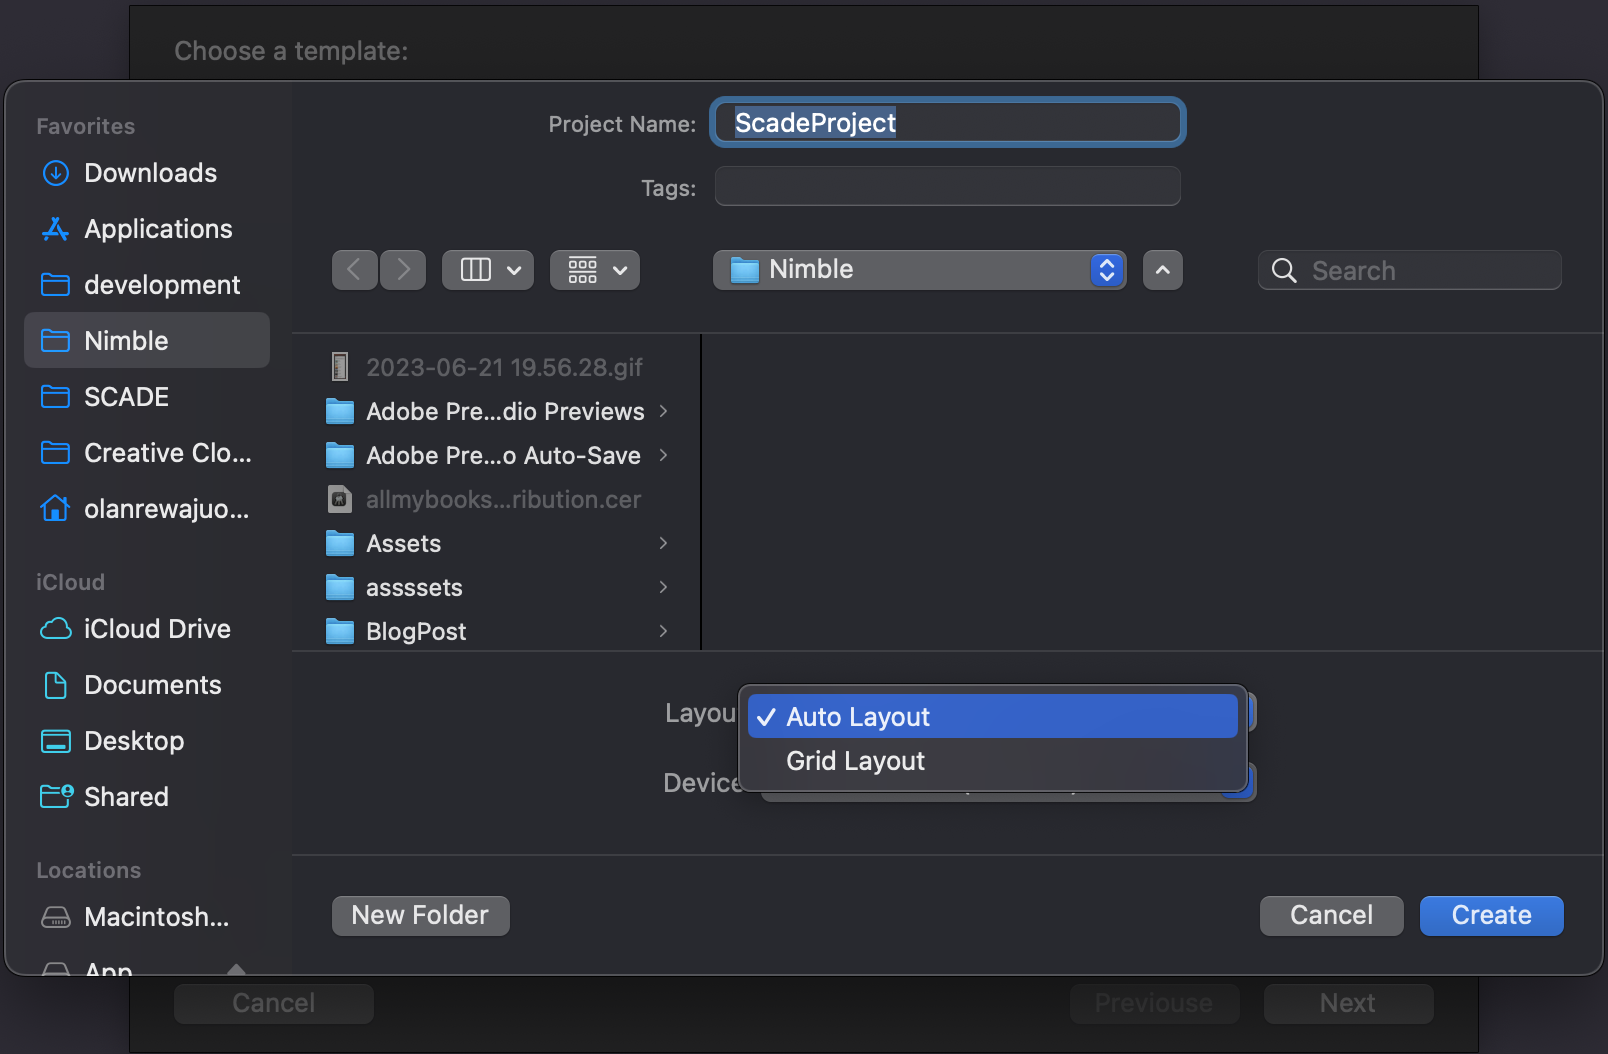
You now have the option to choose either Autolayout or Gridlayout when creating a new page or project in SCADE. We chose Autolayout as the layout manager for this guide.
Autolayout by example
How to Center a Control on a Screen
- Drag and drop the control on the page, i.e. a button
- Press the Constraint button on the page editor panel to bring up the Constraint Dialog
- Click on Horizontally in Container
- Click on Verically in Container
- Press Apply button to effect the changes
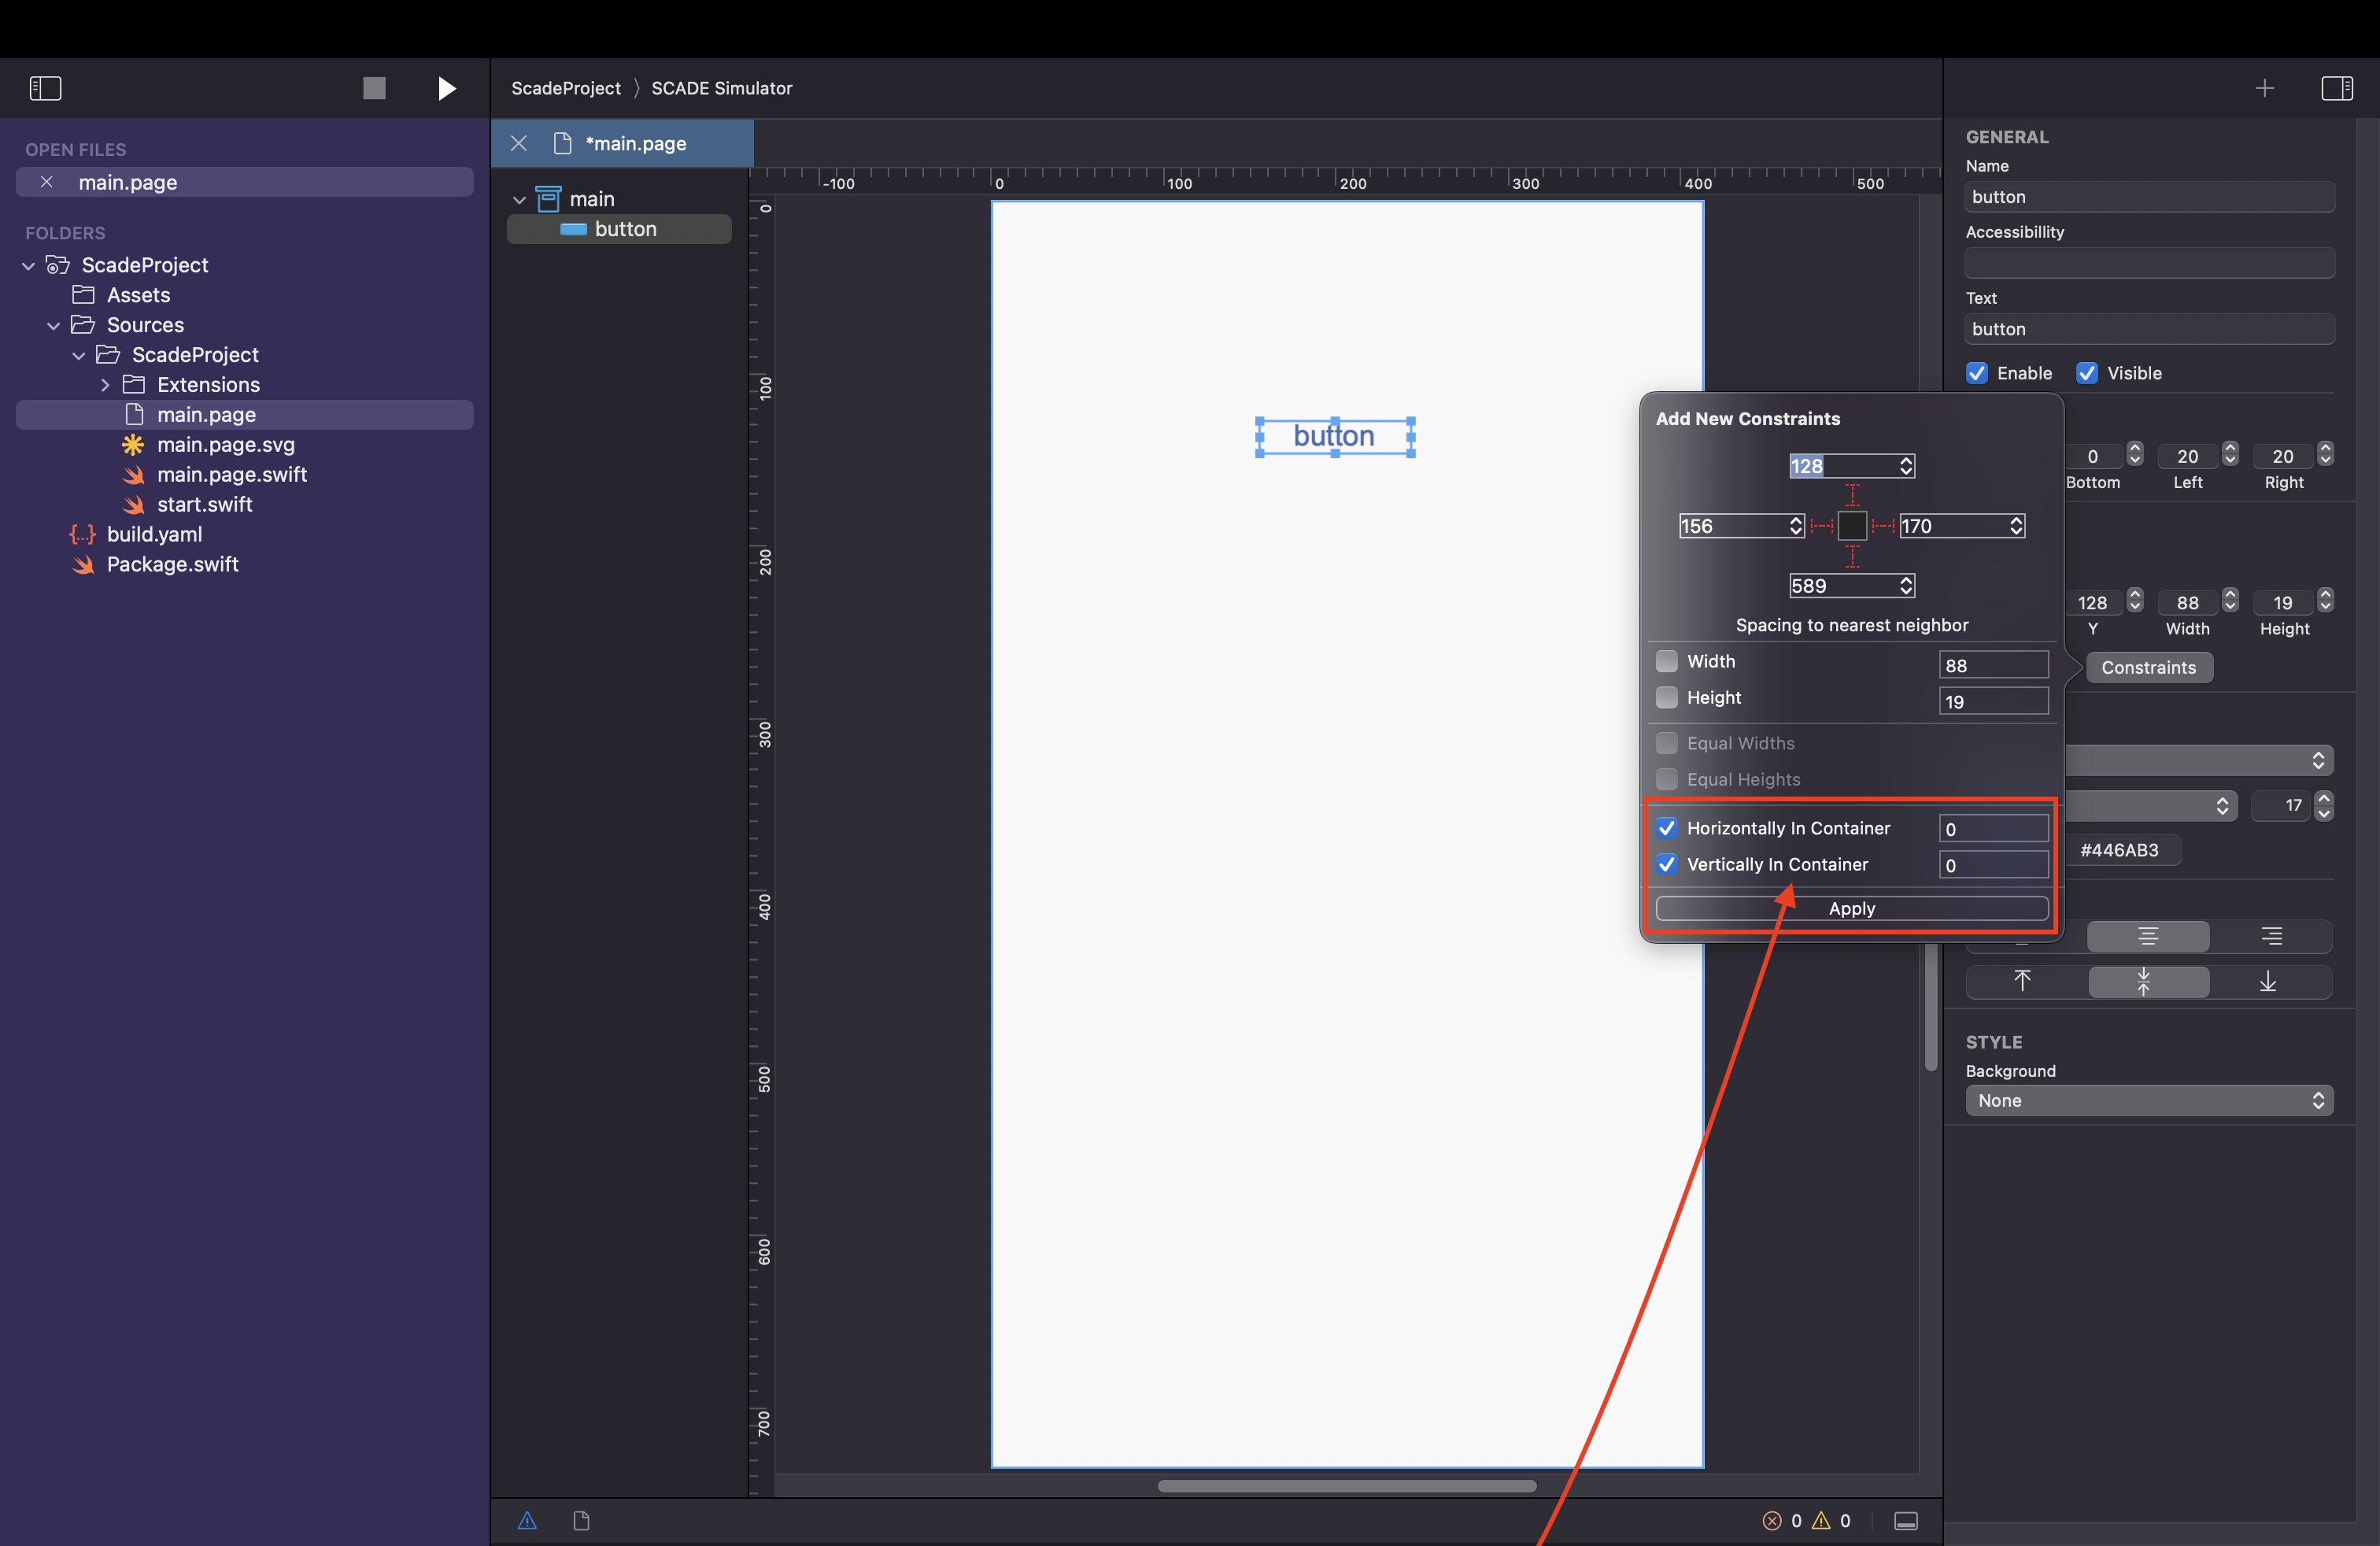
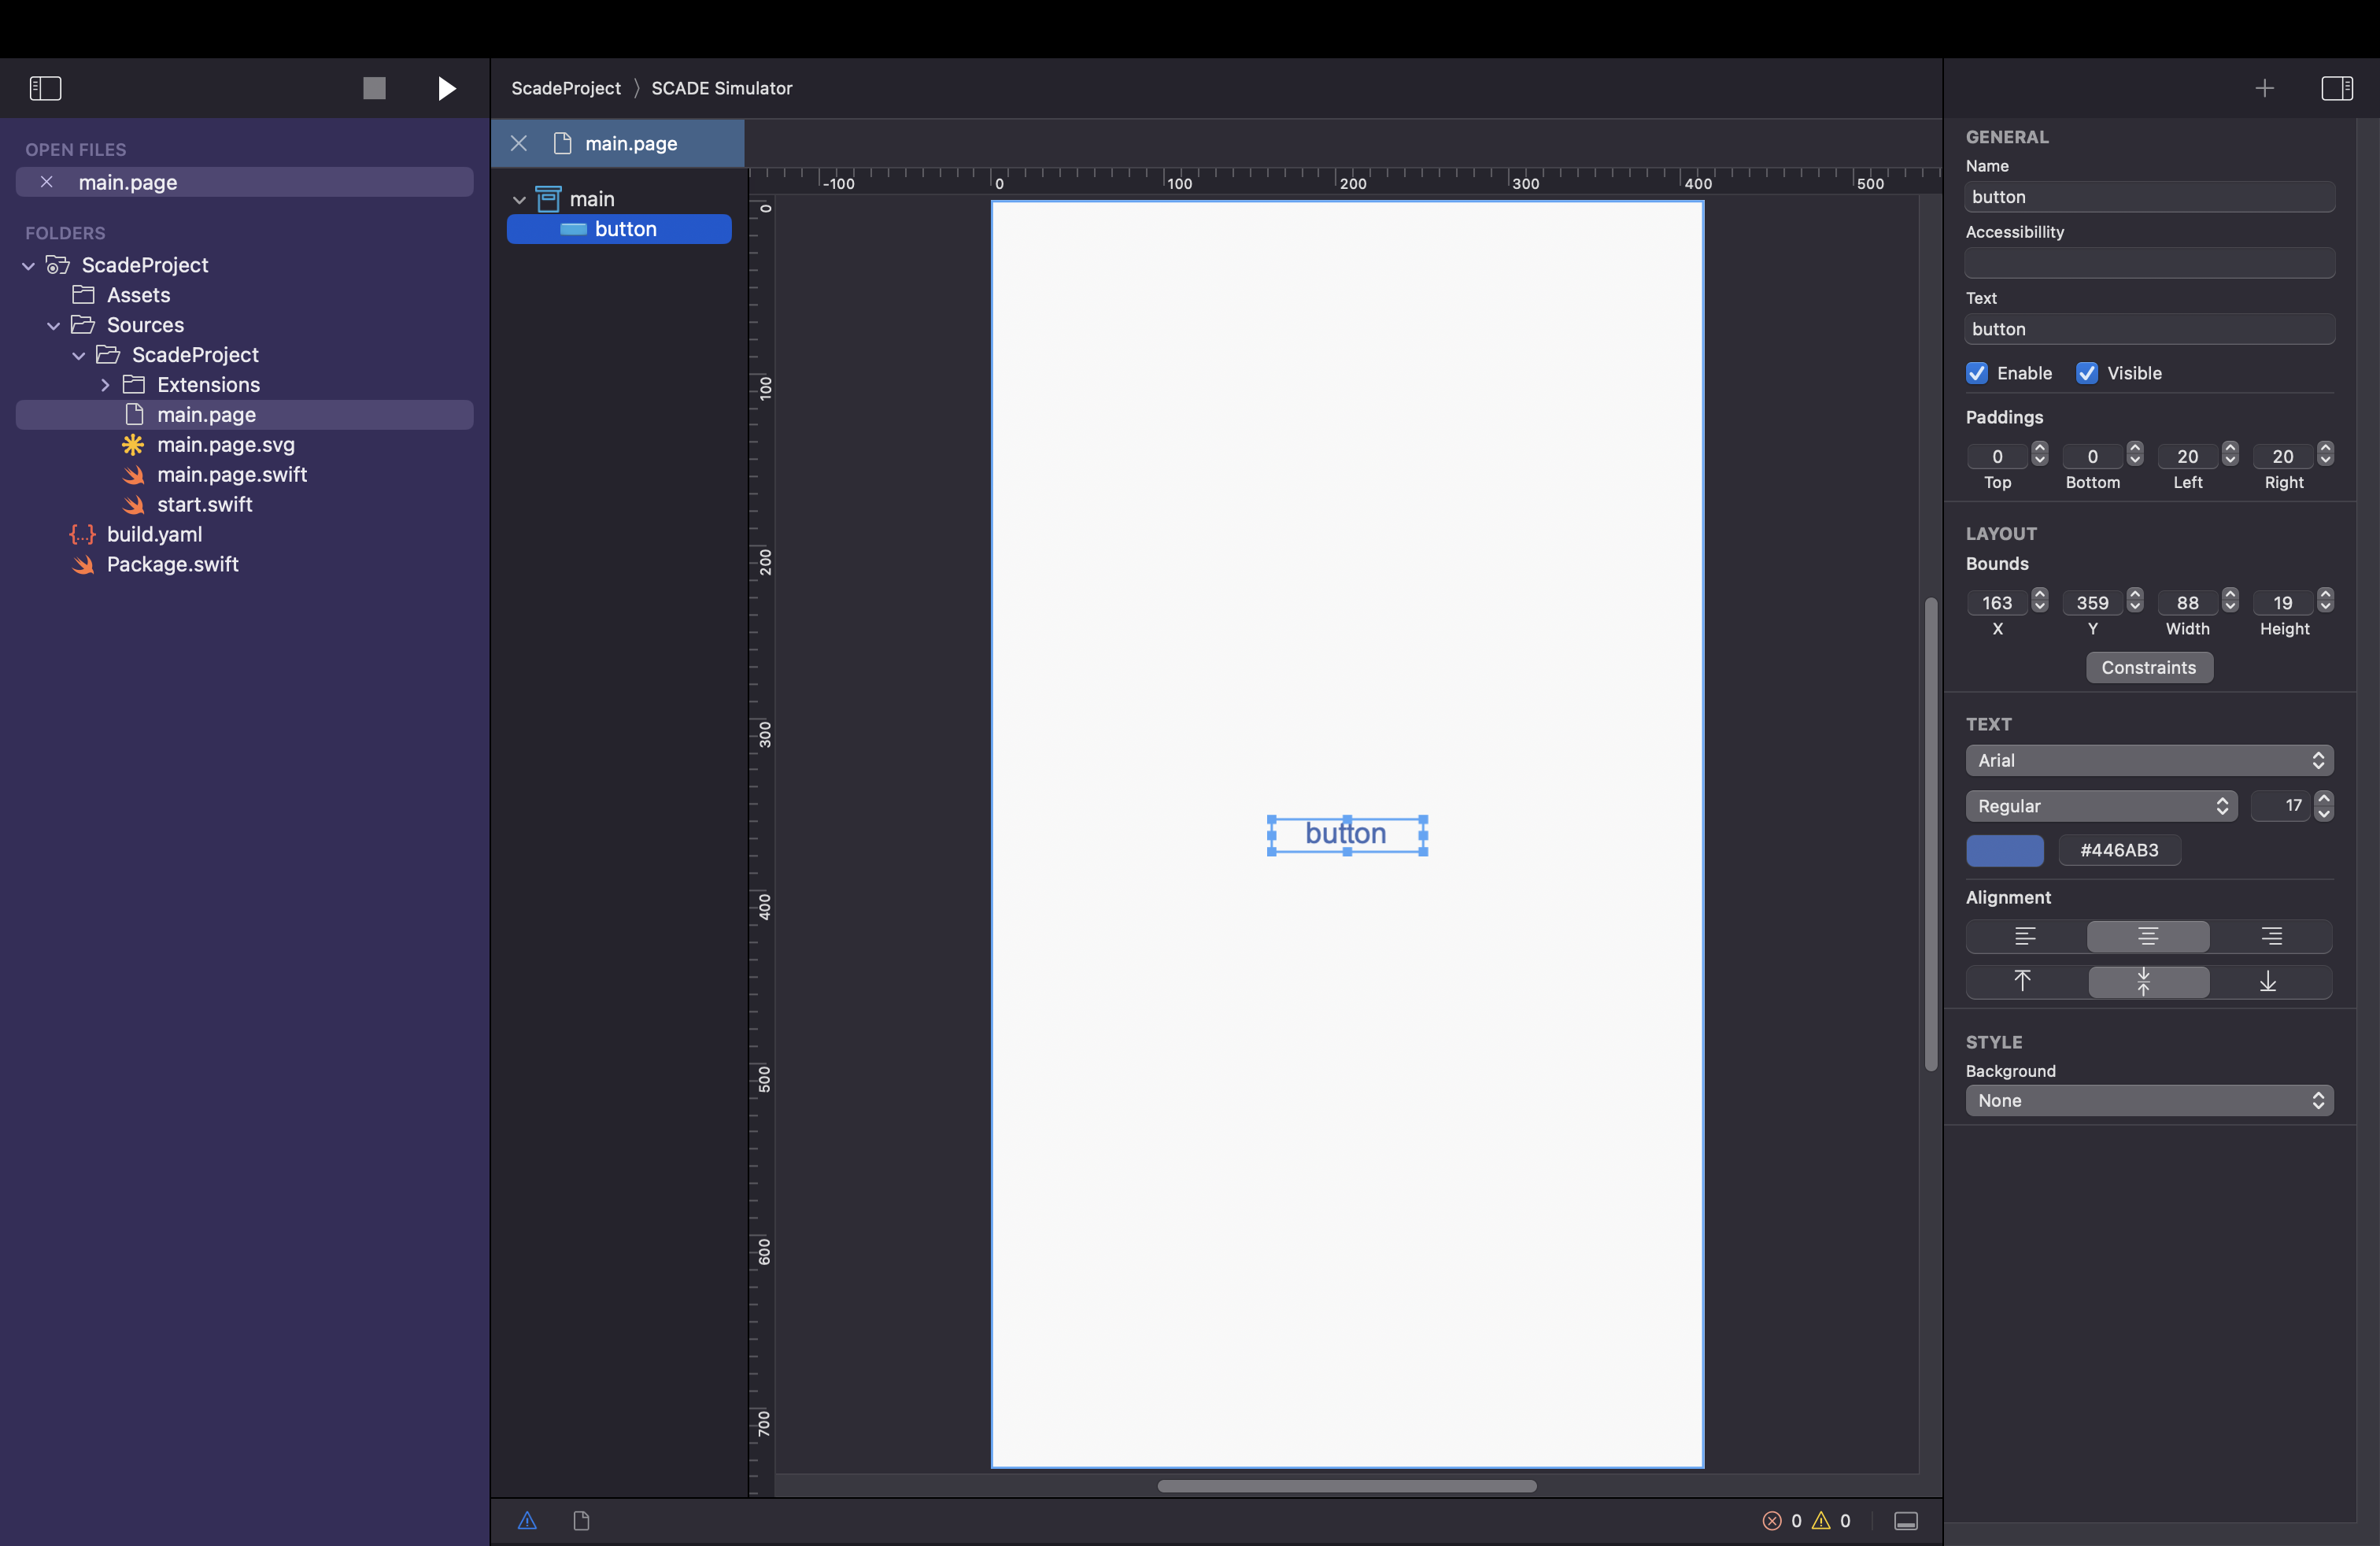
The button will now be centered vertically and horizontally. The new constraint will show up in the constraint dialog:
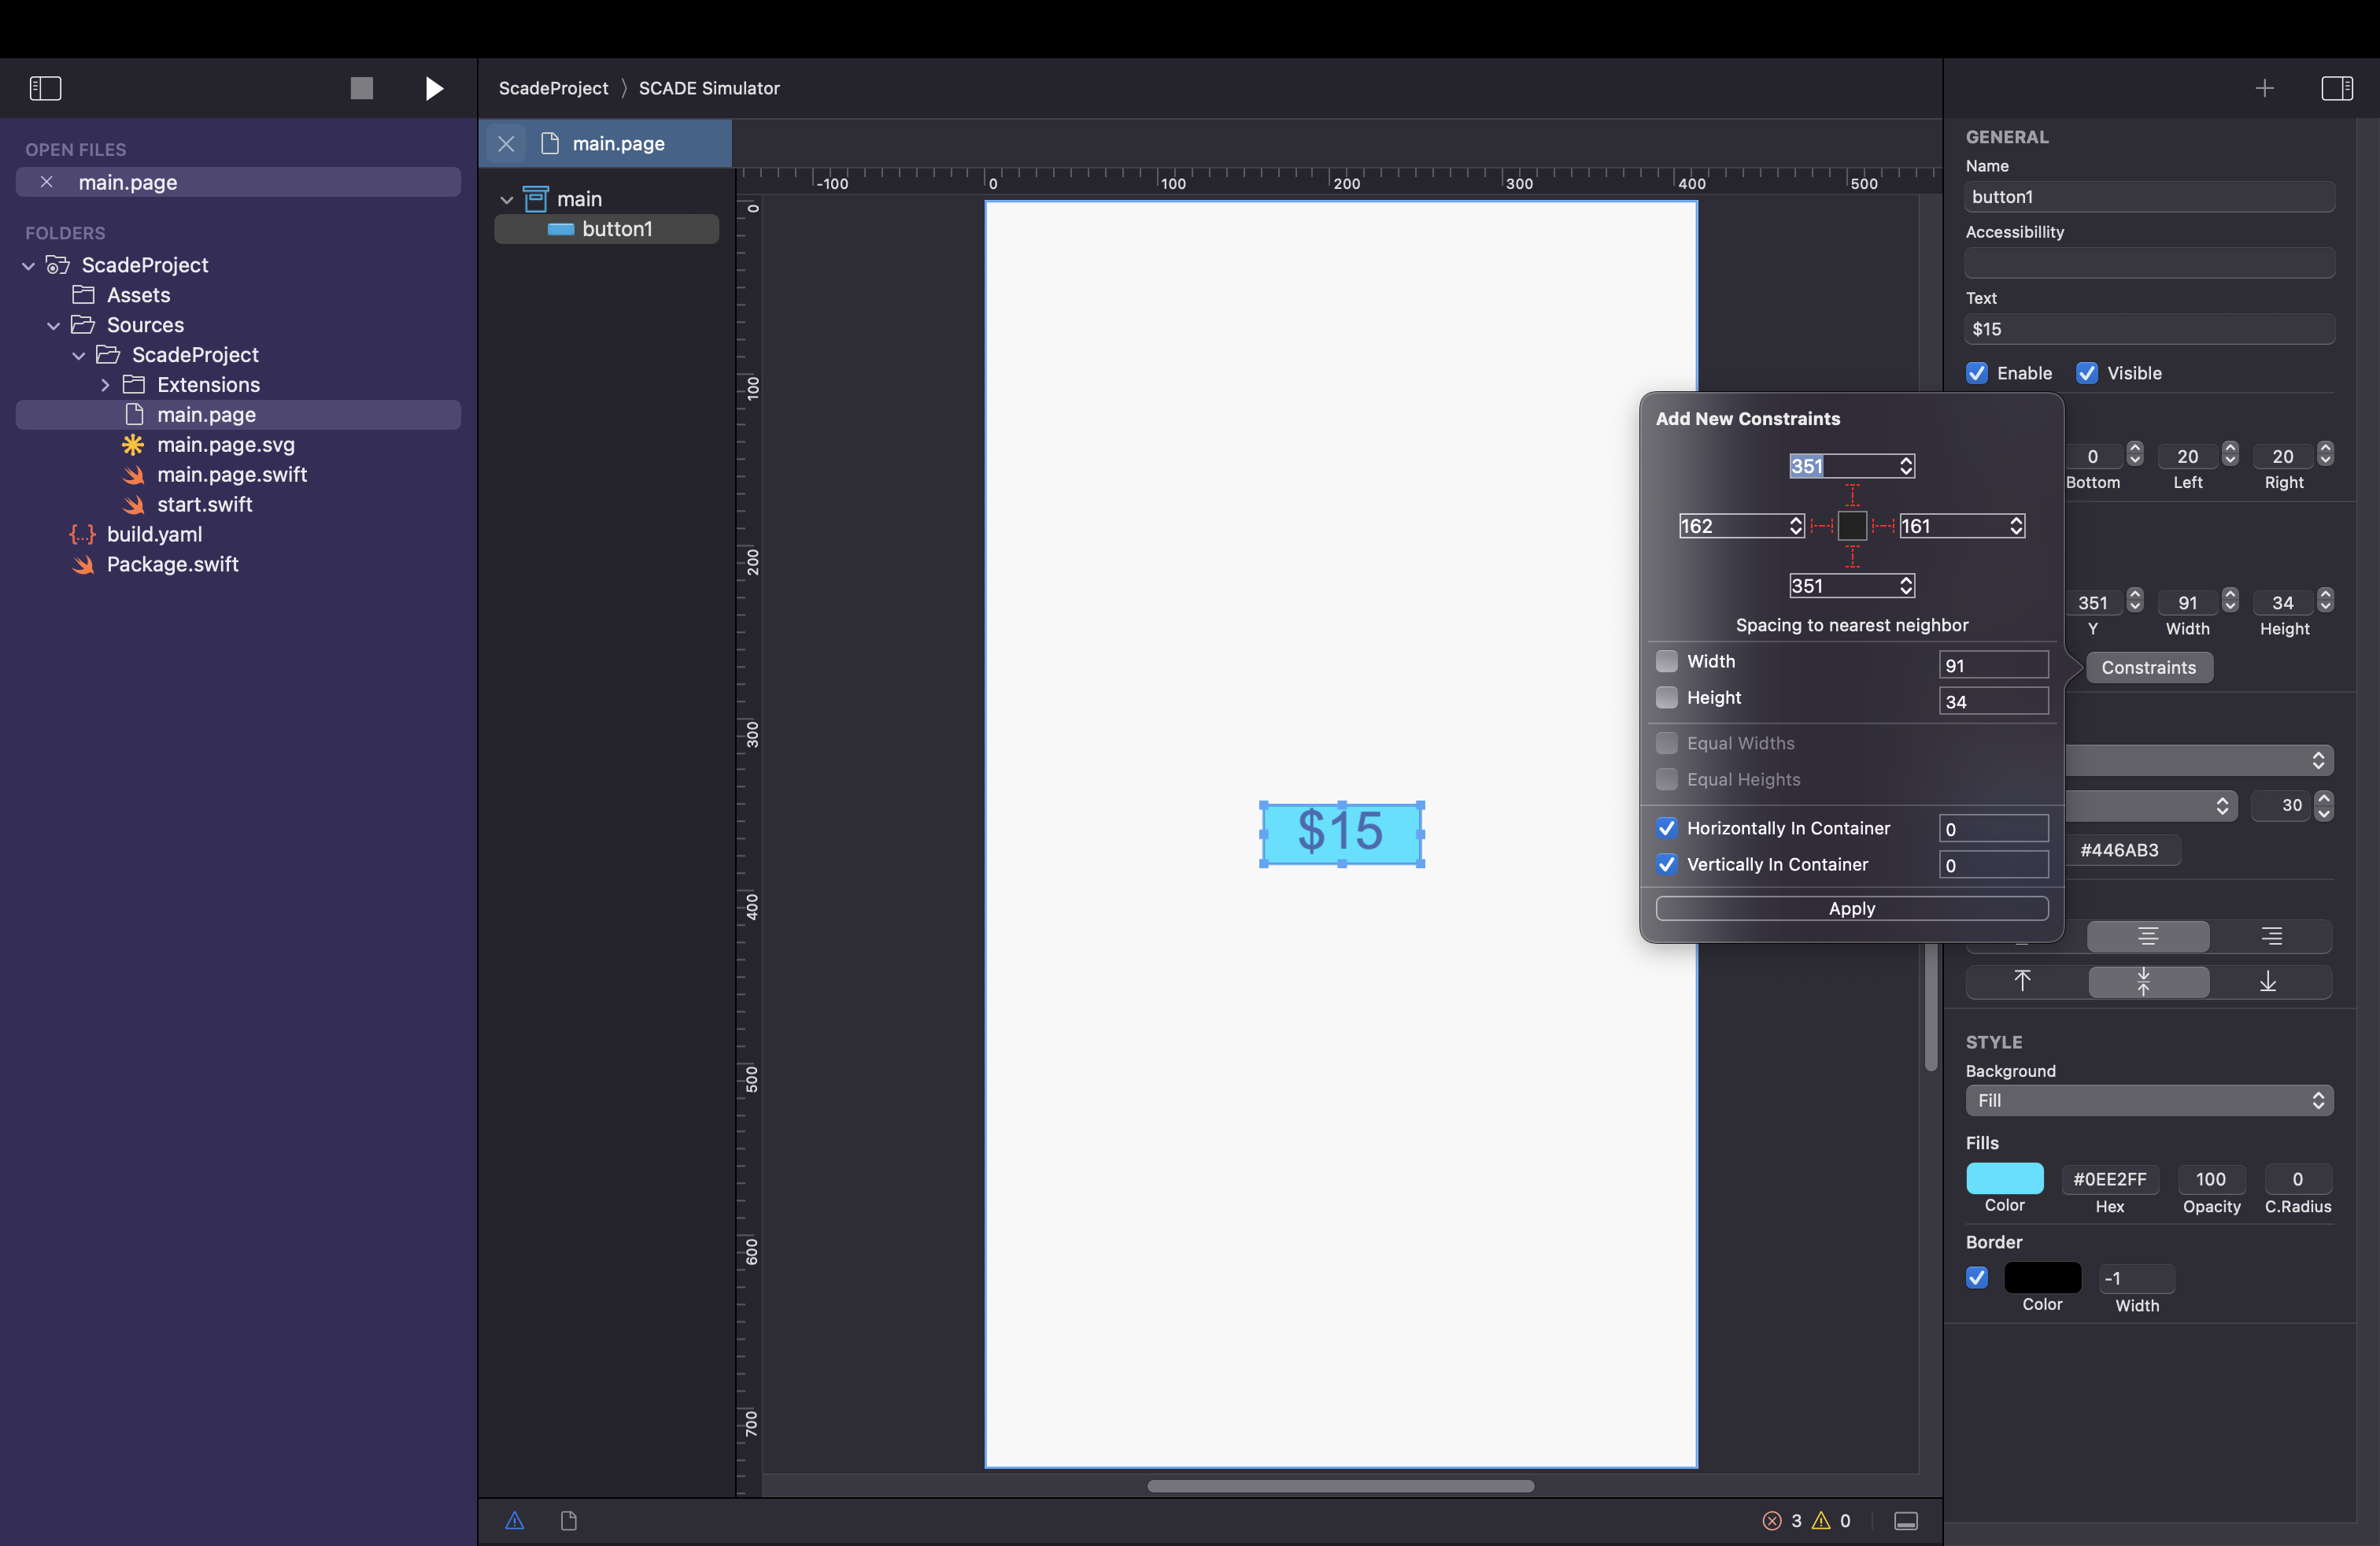
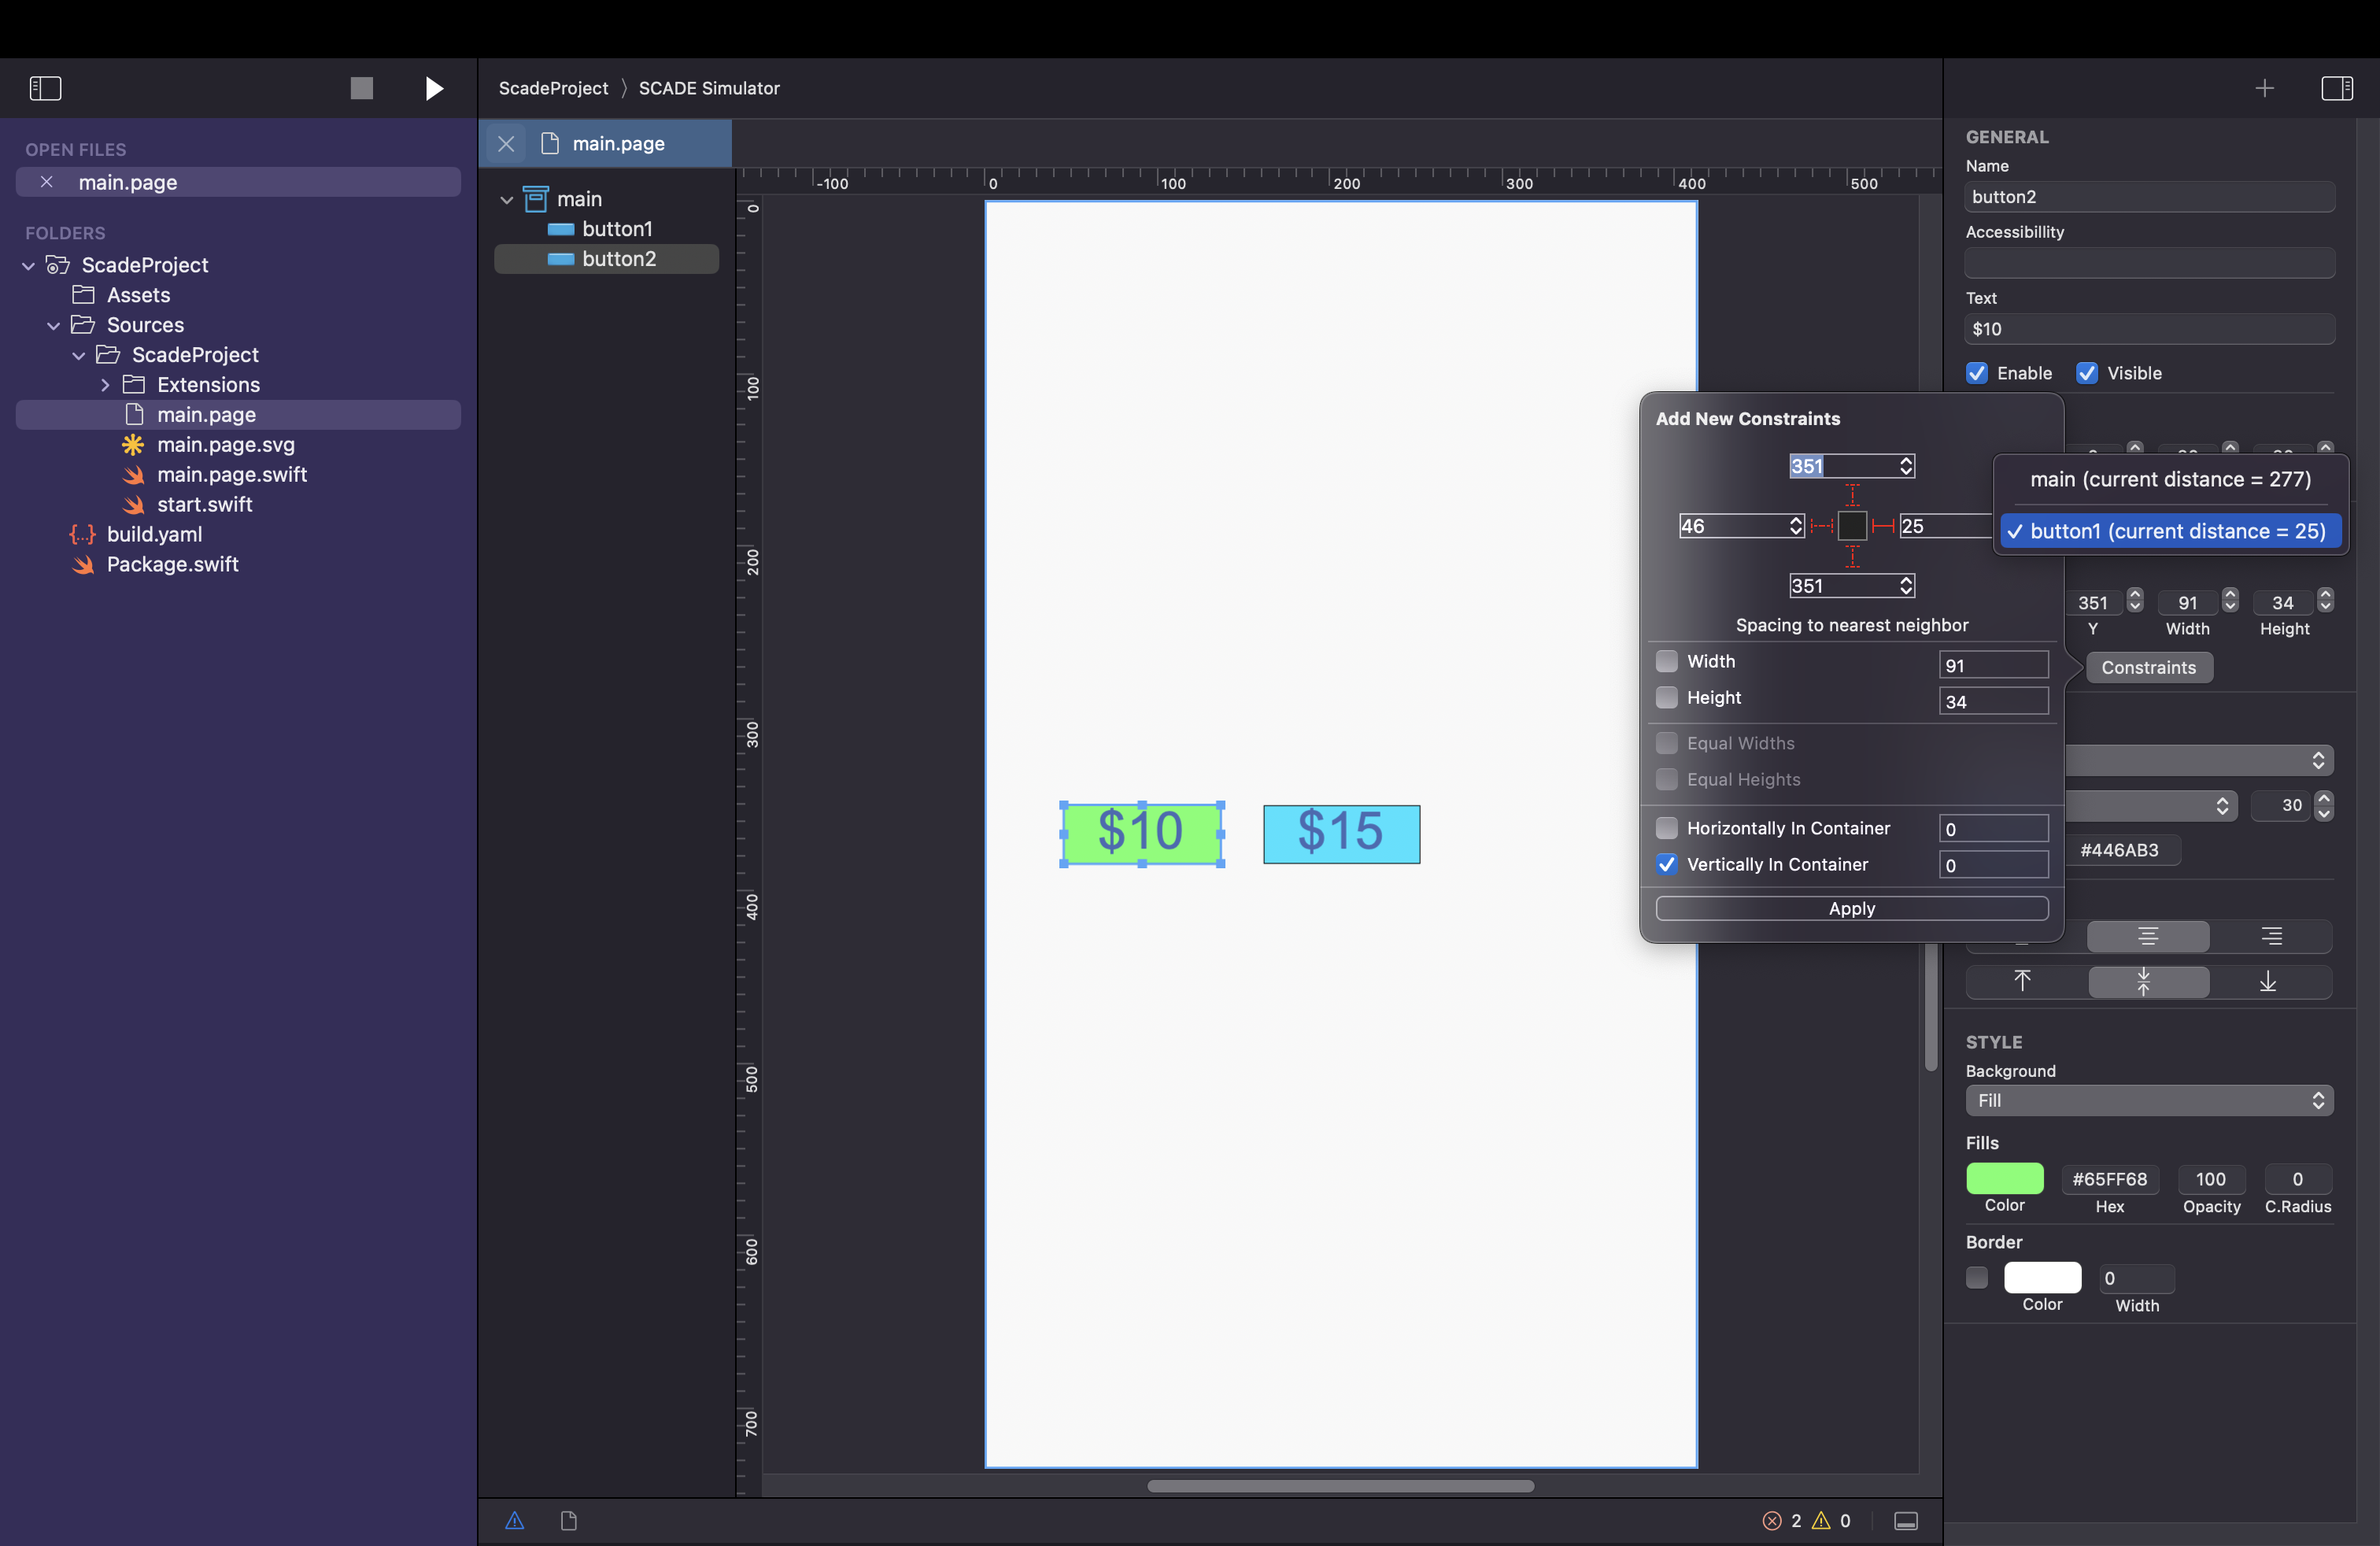
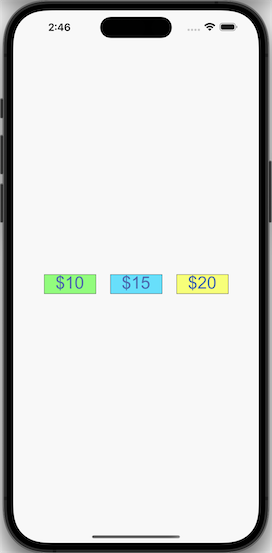
How to create three Button Panel
In this example, we want to 3 buttons to stretch across the width of the device while maintaining equal width:
- Add 3 buttons to a page and name them button1, button2 and button3, respectively
- Set button2 text to $15, button1 text to $10 and button3 text to $20.
- Give each of them a unique background color
- Use the AL constraints dialog to vertically and horizontally centre button2 on the page.
- Also, use the AL constraints dialog to make button1 vertically centred and 25 pixels to the right of button2.
- Finally, set button3 vertically centred and 25px left of button2 using the AL constraints dialogue.
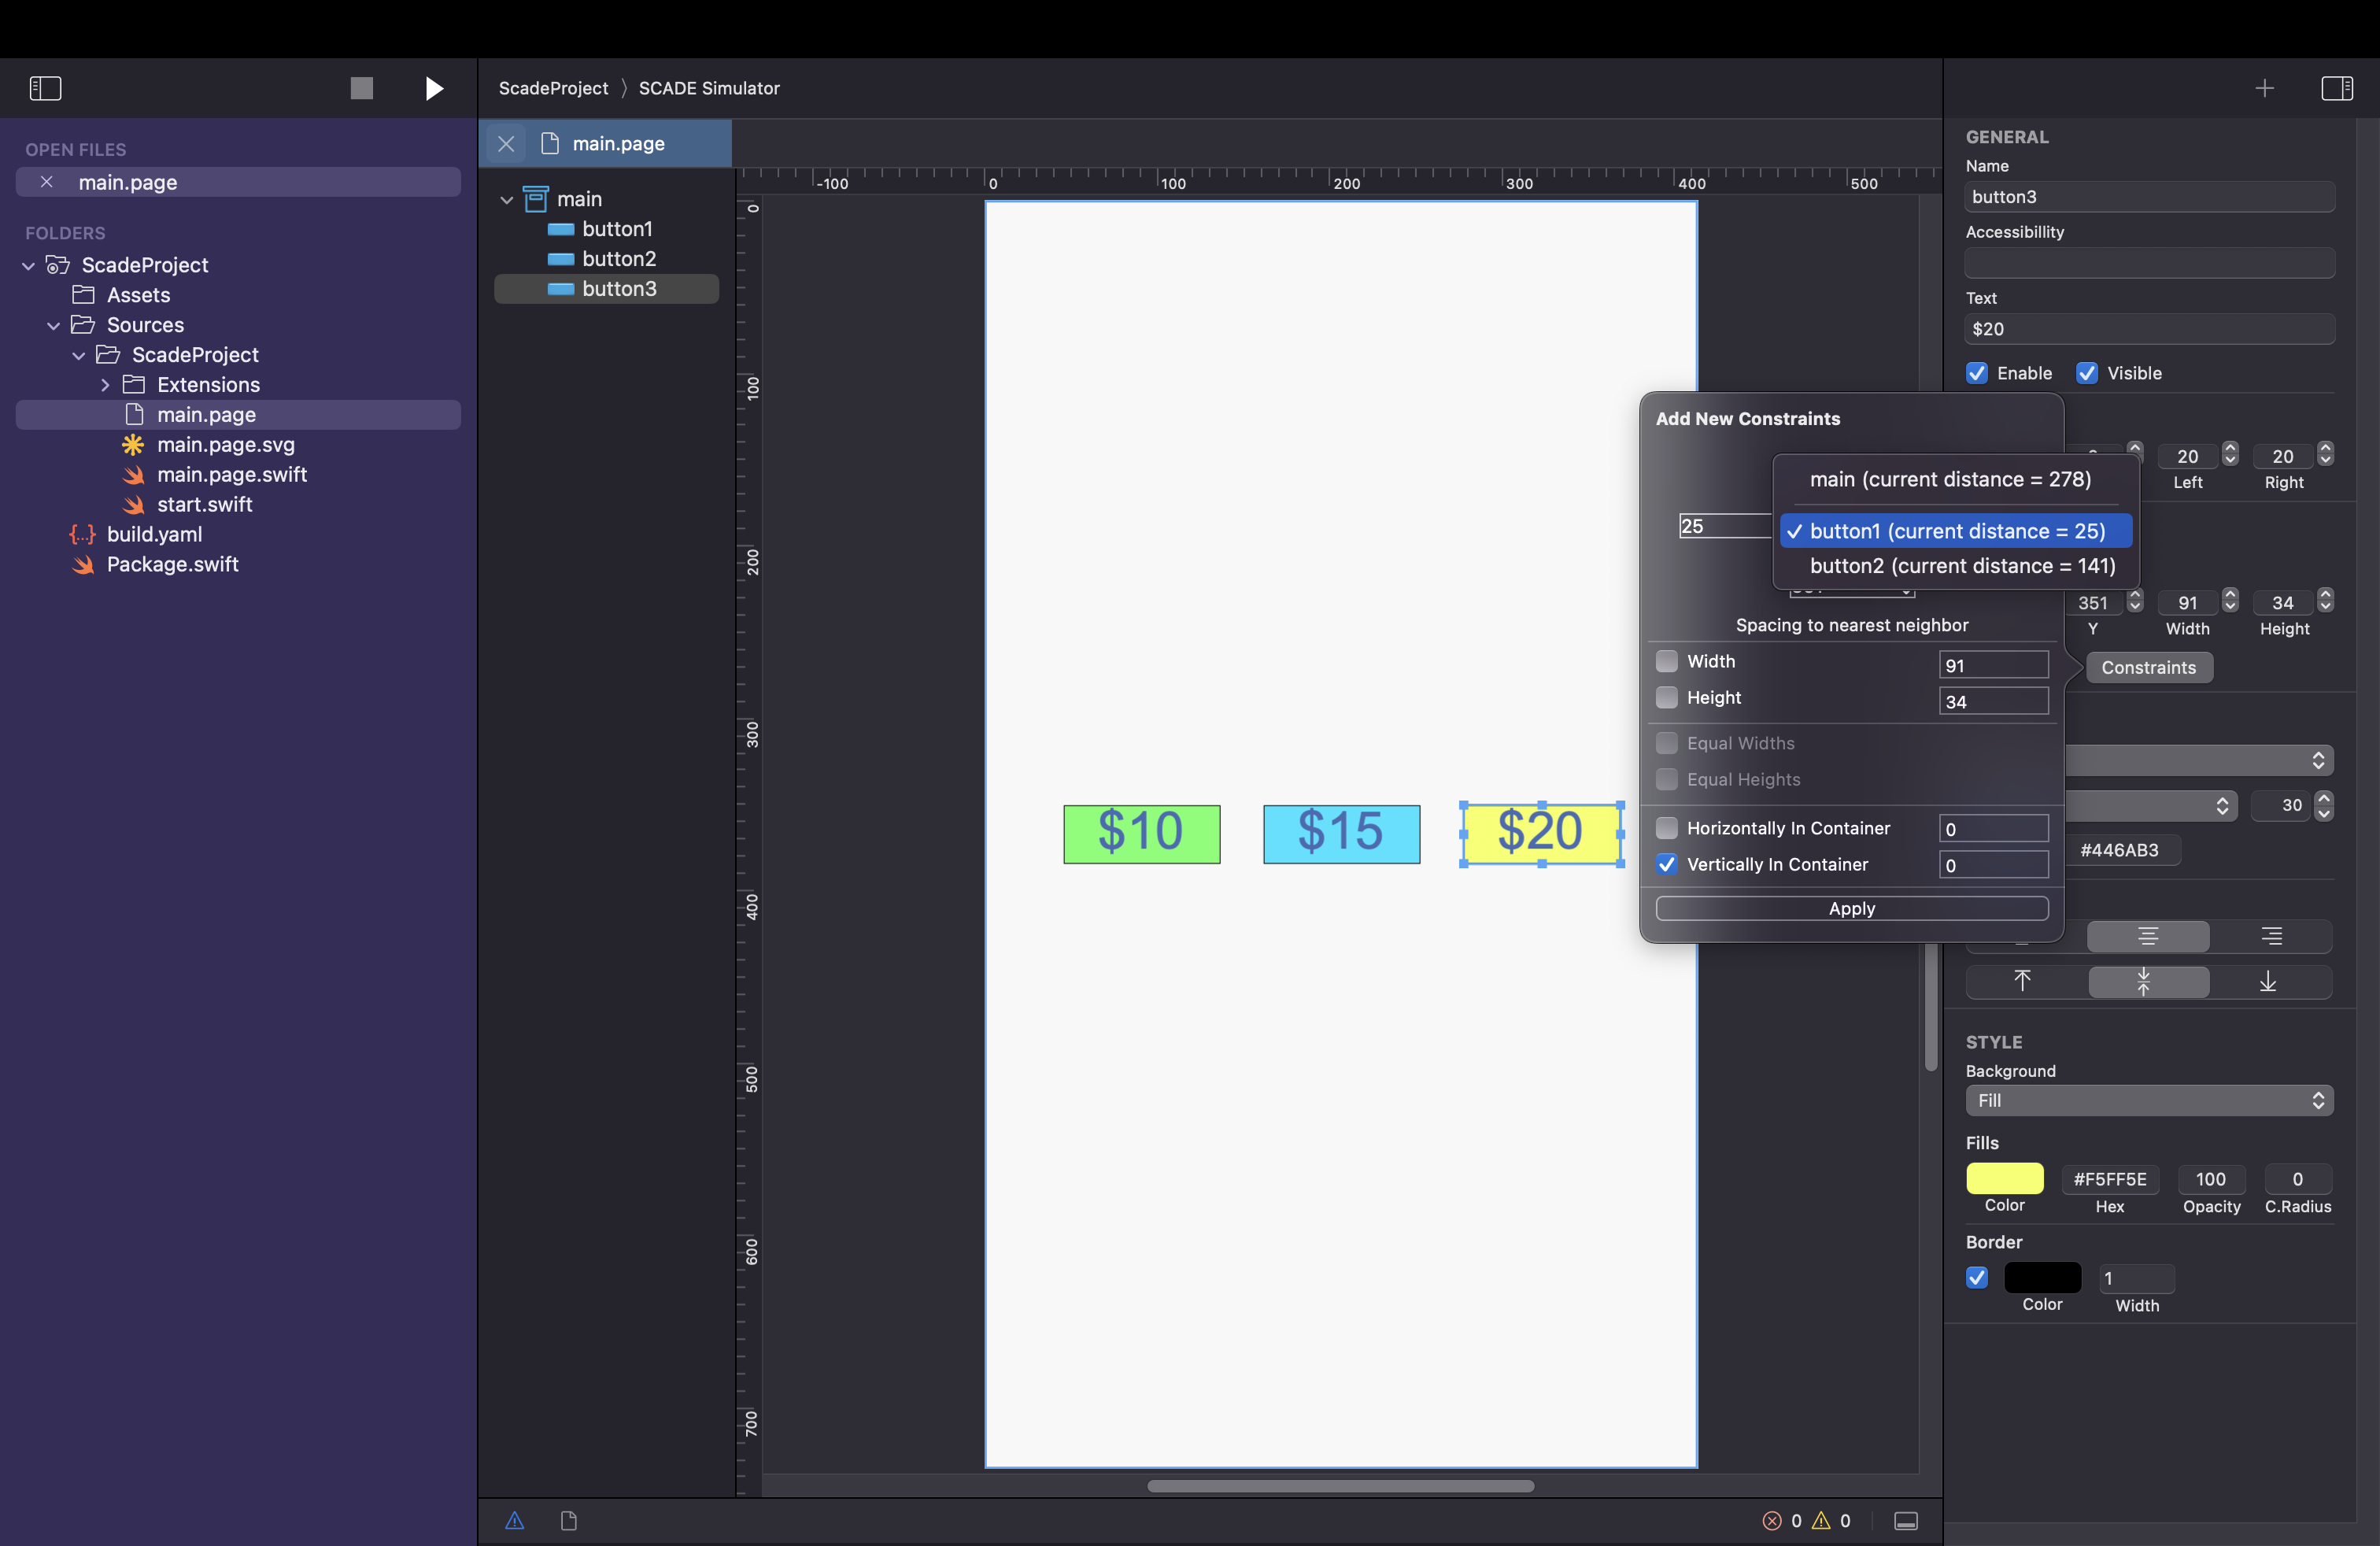
- Press on the Constraints button on the page editor panel to always make use of the AL constraints dialogue.
All buttons will be nicely distributed with same width no matter the device size and format.
Here we go:
A Tutorial about AutoLayout
Updated 2 months ago