Publishing an iOS app to the App Store
A step-by-step overview of publishing a SCADE app to the App Store and TestFlight is provided in this guide.
Step One: Log on to your Apple Developer Account to create a certificate, an AppID and a Provision Profile File for your app:

-
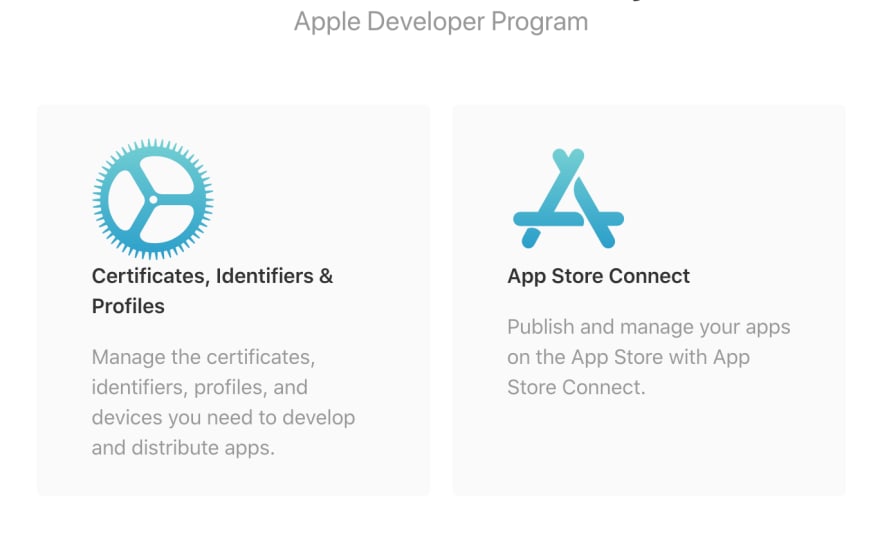
Click on the Certificates, Identifiers & Profiles tab on your Apple Developer Account to create a certificate for the distribution of your app to the App Store. You need a Certificate-Signing-Request (CSR) file generated from your mac to complete the creation of this certificate.
-
Next is to create a new AppID by clicking the plus button on the Identifier tab. You would also need to register your AppID by selecting the App IDs option to provide a description and a bundle ID because every iOS app is associated with a unique identifier registered with Apple.
-
Download and double-click the .cer file (certificate) generated from your Apple Developer Account to get it added to Keychain Access. Select Login Keychain to navigate to the Certificates tab in your mac's Keychain Access and right-click on the certificate you just added to the Keychain to export it as a .p12 file.
-
The last step is to register and create a new provisioning profile by clicking the plus button on the Provision Profiles page and choosing App Store under the Distribution section. Your AppID and certificate must be included in the newly created provision profile file. To install, double-click the newly created provision profile file; failing to do so will result in problems when building your .ipa build file. Hint: If an Xcode home screen appears, your provision profile file has been successfully installed.
Step Two: Configure the build.yaml file of your SCADE Project:
-
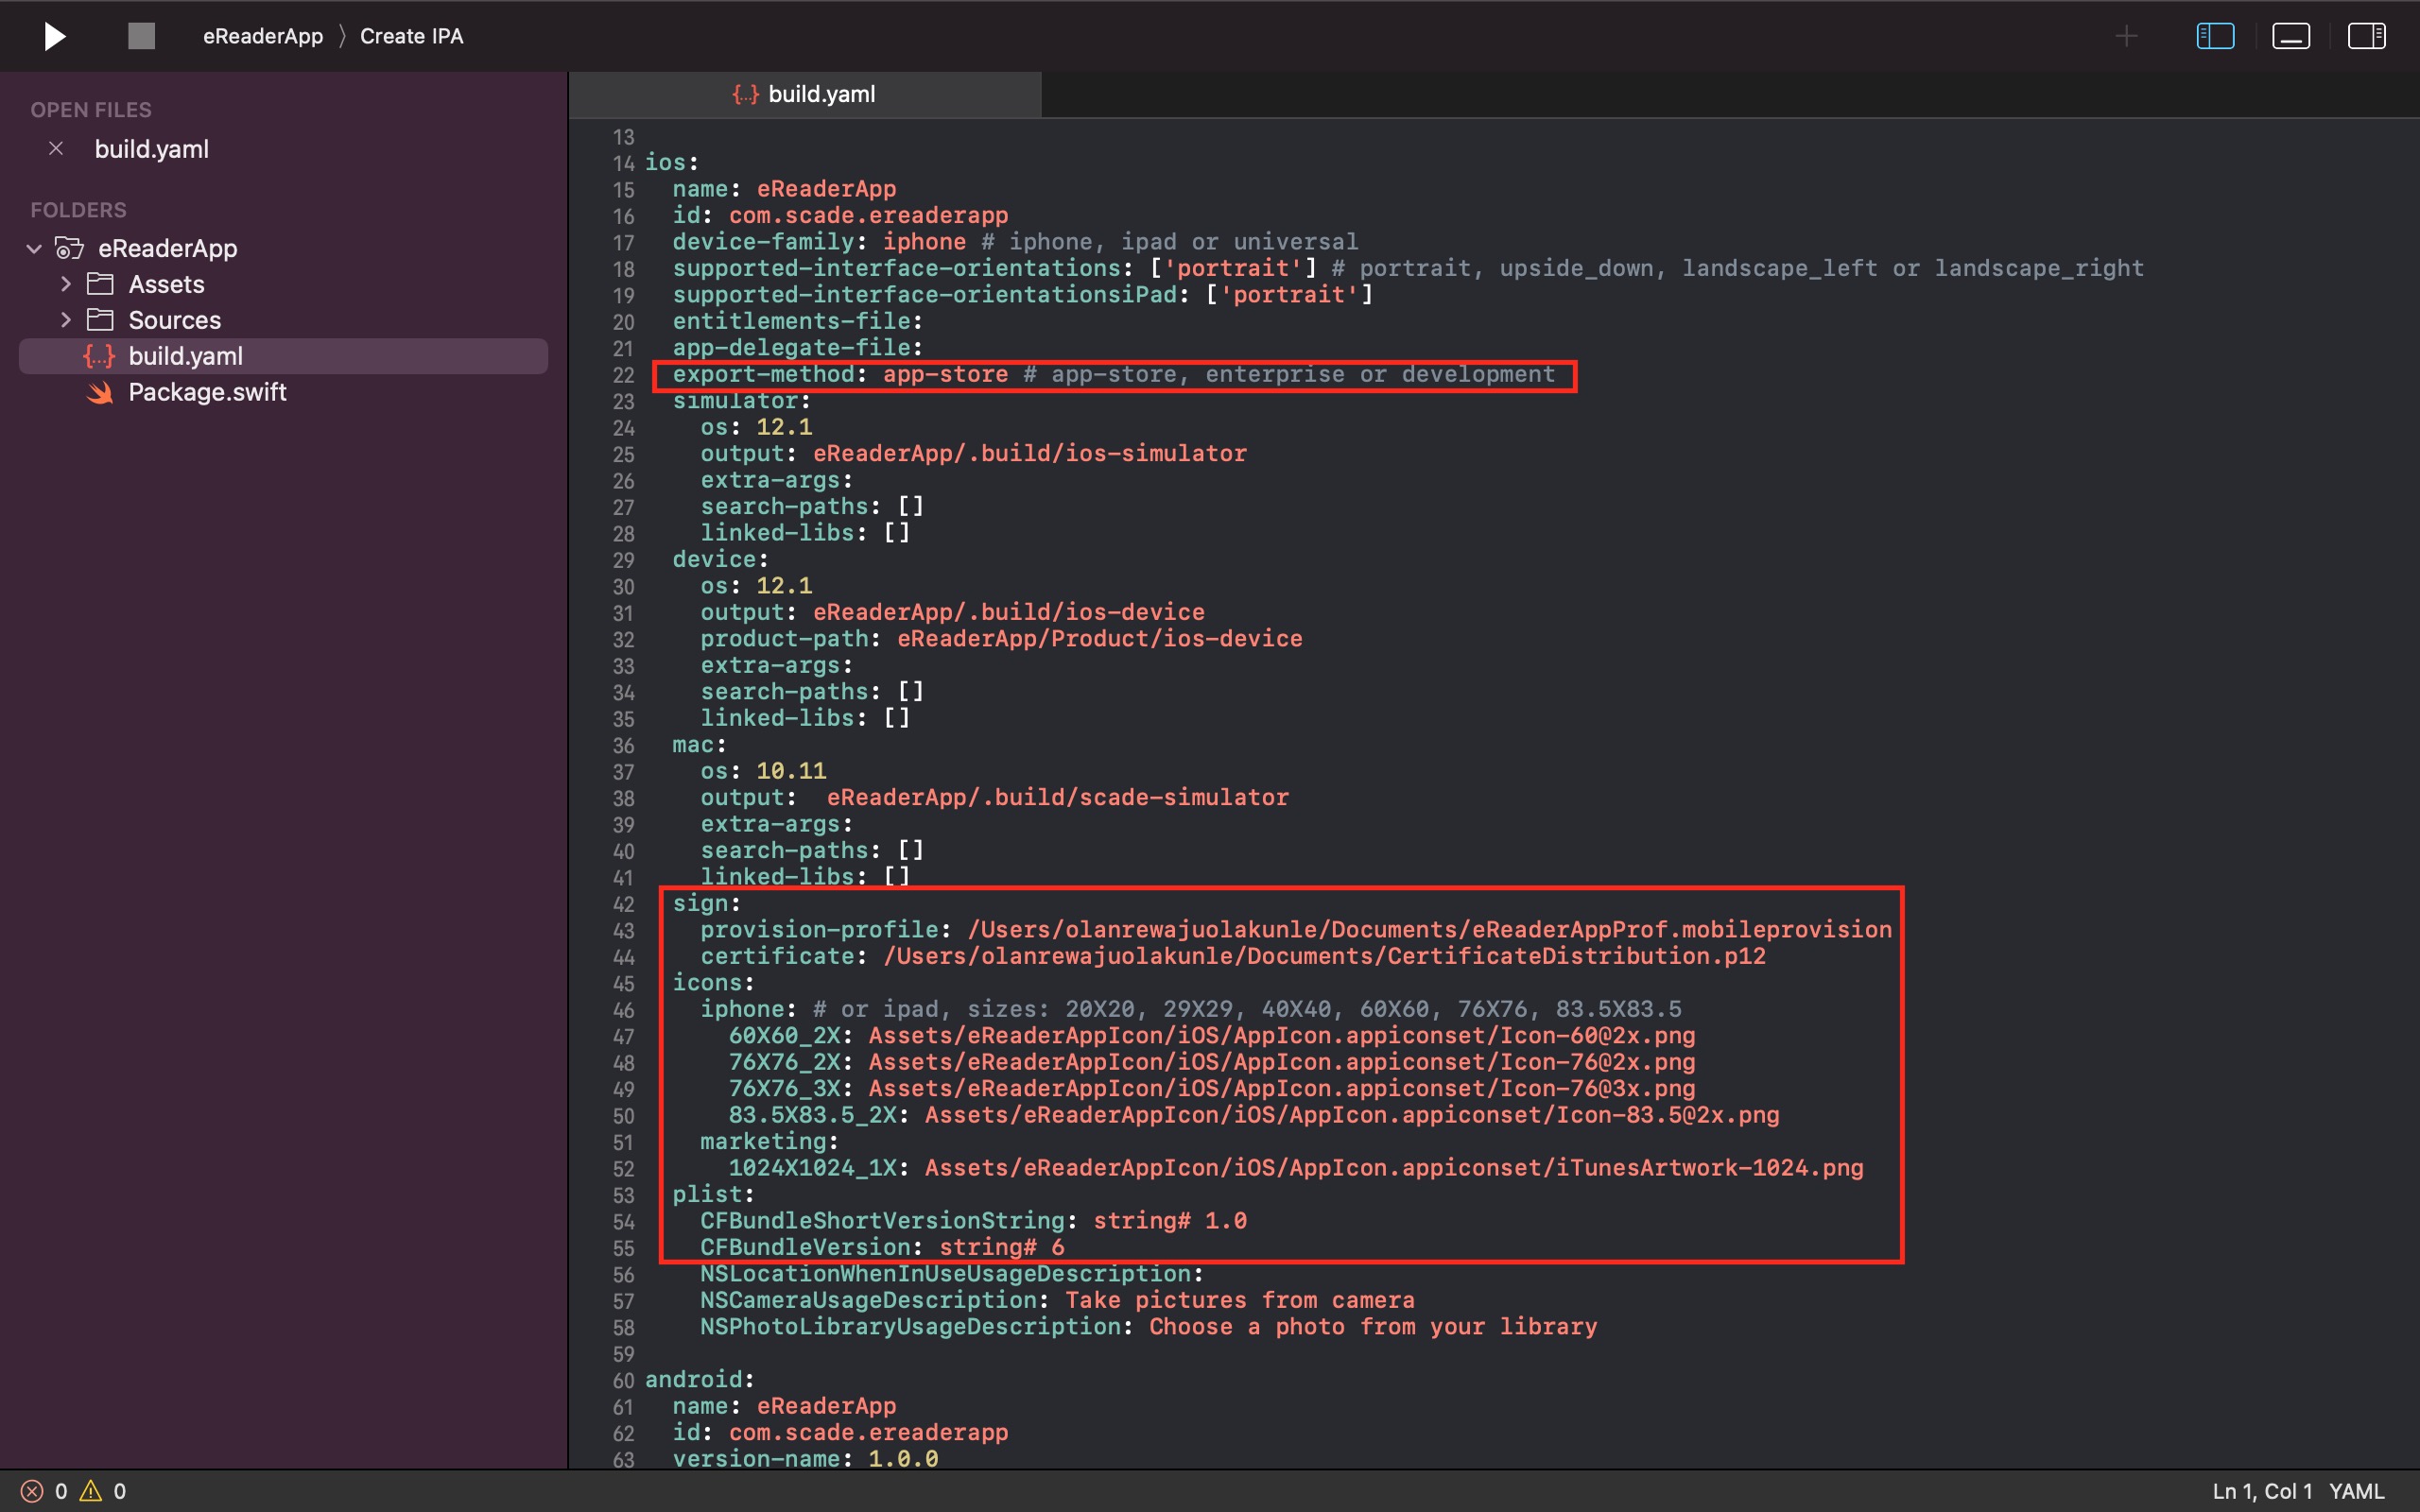
Add the .p12 file you previously exported from the Keychain Access to the certificate path.
-
Set the .mobileprovision file you created from the provision profile page of your Apple Developer Account path to the provision profile path of your app's build file.
-
To create the IPA file for your project, set app-store as the export method. Note that you can optionally choose other different export methods if you are not distributing to the App Store.
-
Add app icons to the icons section.
-
Update the app's CFBundleShortVersionString and CFBundleVersion values. The app's CFBundleShortVersionString and CFBundleVersion default values are string # 1.0 and string # 1, respectively. You can find and update them in the iOS section of your app's build file.

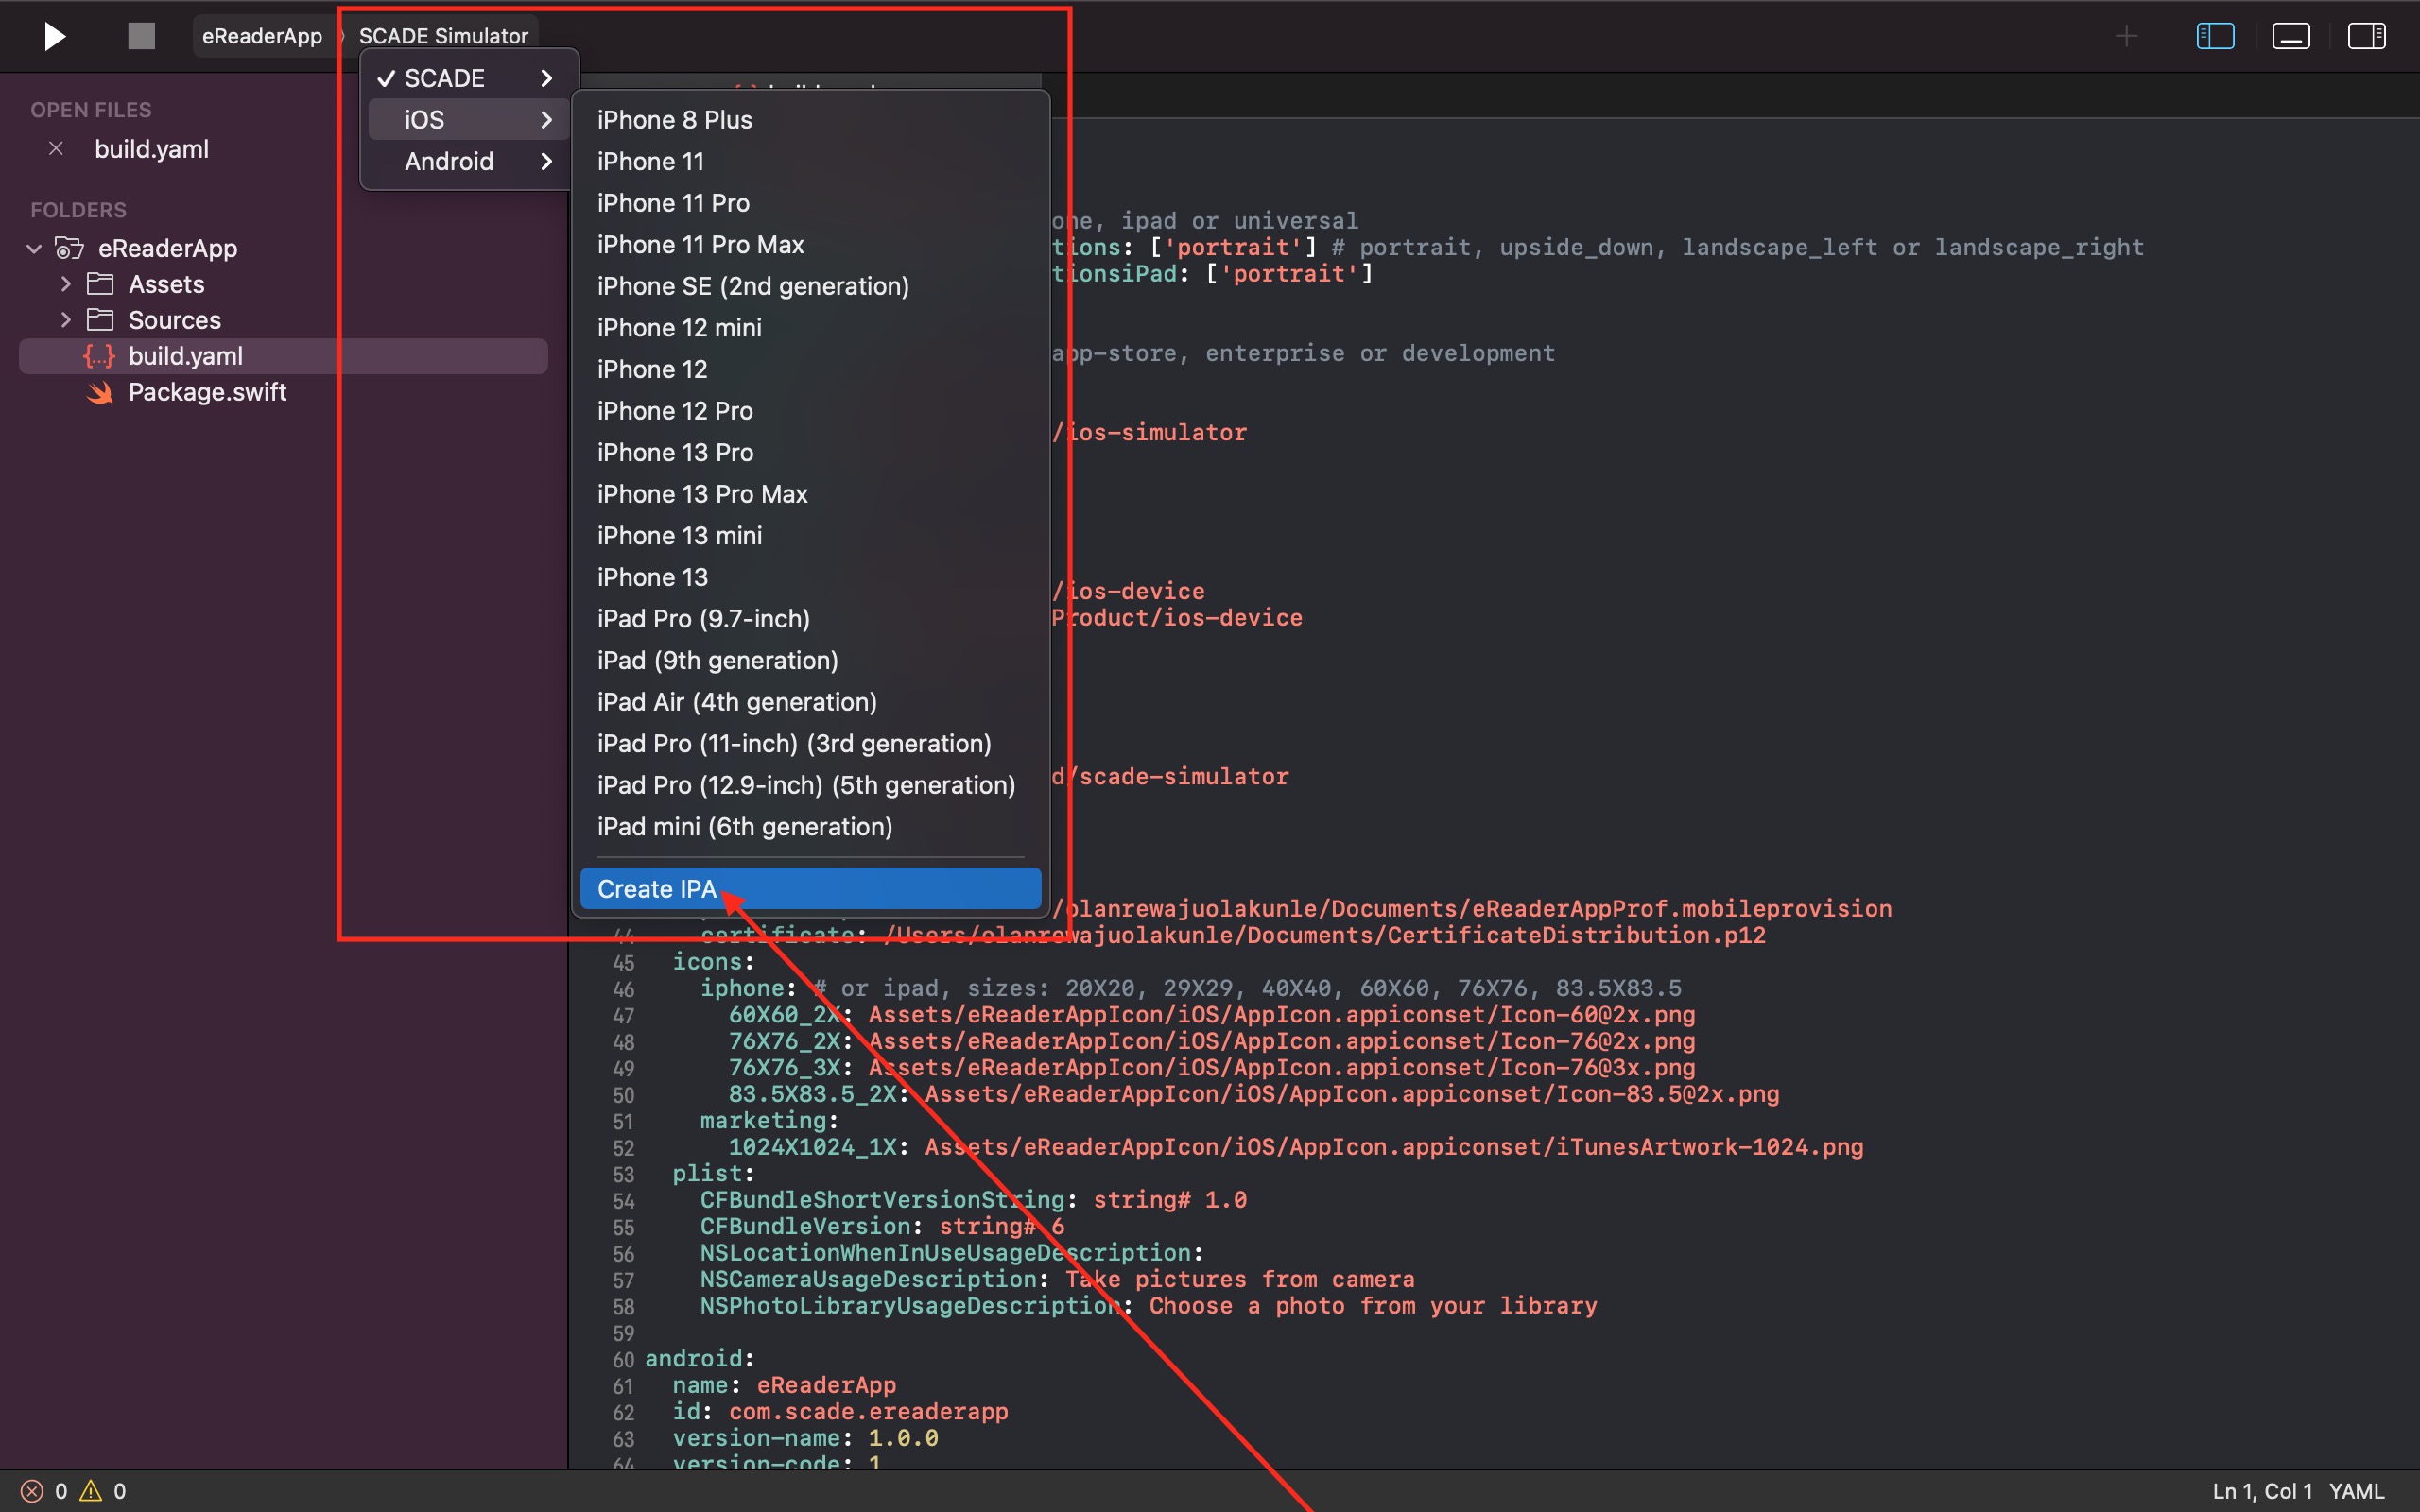
- Choose Create IPA as the target in the iOS Simulator dropdown menu:

-
Use the play button or Command + R to build the IPA file in your project’s build/Project_Name/Product/ios-device directory.
-
Upload IPA file to the App Store Connect either by:
i. Using the Apple Transport macOS app. Once successfully installed, Drag and drop the IPA file into the app to deliver it to the App Store.
ii. Or by uploading the IPA file to the App Store and TestFlight from the command line by running:
xcrun altool --upload-app --type ios --file <path_to>/file.ipa --username <username> --password <password>Note: You may not use your Apple Developer Account Password and instead use a generated App-Specific Password from AppleID for your IPA file to avoid errors while uploading to the App Store.
- After the successful upload of your IPA file, return to your App Store Connect page, under the App Store tab, and enter the information about your app. Click on the save button afterward before the "Add for Review" button for submission.
Updated 3 months ago
